Last post I shared my process of building the landing page and deploying it to Render. com so the main coding work is done and available in my public repo:
https://github.com/EdgarGGamartgo/landing-page
It’ll be much easier to understand this post if you read the previous post so if you’re interested, take a look at: https://edgargmartinez.wordpress.com/2025/07/08/building-a-simple-landing-page-that-saves-emails-into-a-database-using-laravel-and-render/
The challenge today is to make the landing page work on a different hosting provider. This time we’re testing Hostinger:
The first thing I noted is that Hostinger does not have a free option like Render so for testing I’m interested in the cheapest option as I don’t need to buy resources that I won’t use. The option that made sense to me is “Premium Web Hosting” from Hostinger. However, it seems like support for Postgres is not readily available so I’ll switch to MySQL this time.
First, we want to test that our landing page works locally so we have to install MySQL on our system. For MAC, I run this command:
brew install mysql
Then, we want to start the MySQL server with:
brew services start mysql
Then, we want to connect to MySQL with:
mysql -u root
And create our local DB:
CREATE DATABASE landing_db;
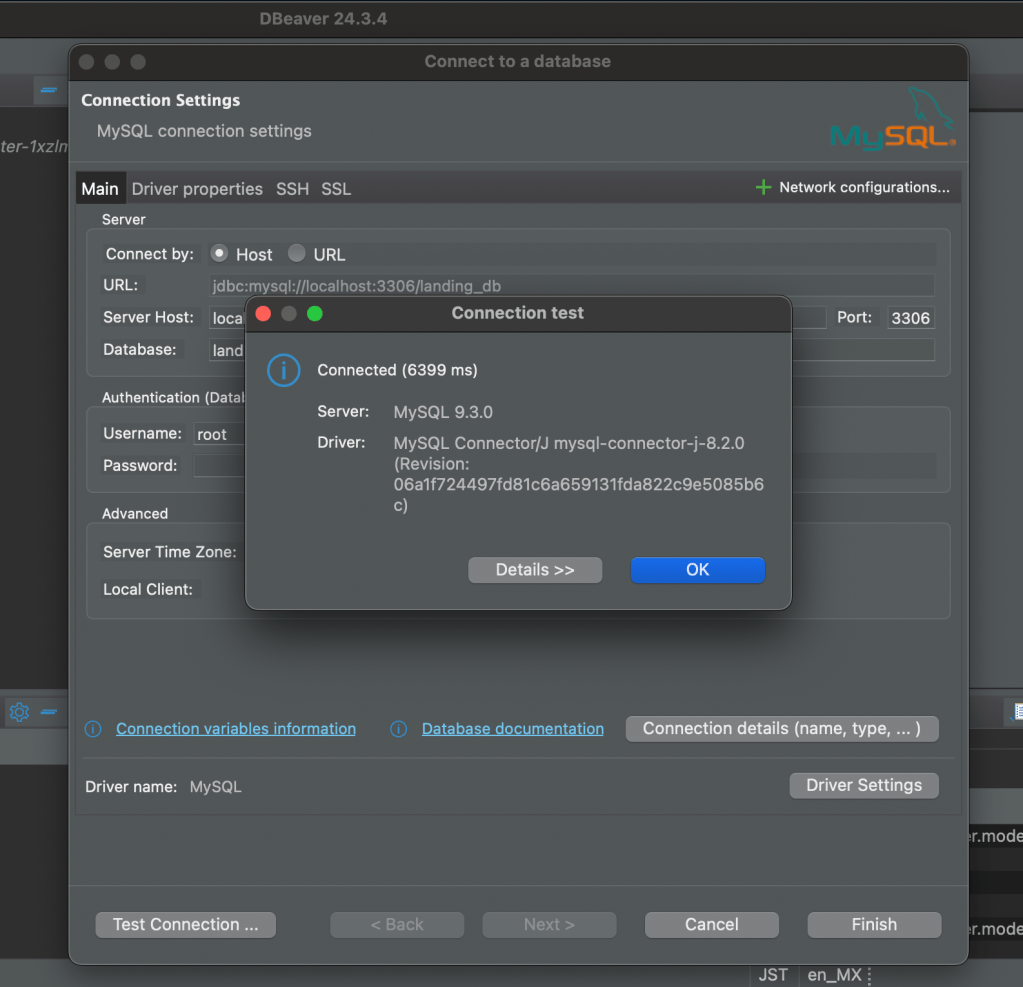
If successfully created, we can now use our favorite GUI to interact with the DB, in this case, I’ll use DBeaver. I have a successful connection:
In our project .env file we should have this
DB_CONNECTION=mysql
DB_HOST=127.0.0.1
DB_PORT=3306
DB_DATABASE=landing_db
DB_USERNAME=root
DB_PASSWORD=
And run our migrations with
php artisan migrate
That will create our tables in our local DB

We should be able to interact and store emails to the local DB from our project running locally like in the previous version with Postgres, so for running it:
php artisan serve
Once we have confirmed that it works locally, we must go to our Hostinger account and create a new MySQL DB so that we can save emails online, it should look like this:

Then, we need to update our .env file to include the actual DB credentials from Hostinger, example:
DB_CONNECTION=mysql
DB_HOST=127.0.0.1
DB_PORT=3306
DB_DATABASE=$your_db_from_hostinger
DB_USERNAME=$your_db_user_from_hostinger
DB_PASSWORD=$your_db_password_from_hostinger
Now we zip without the vendor directory:
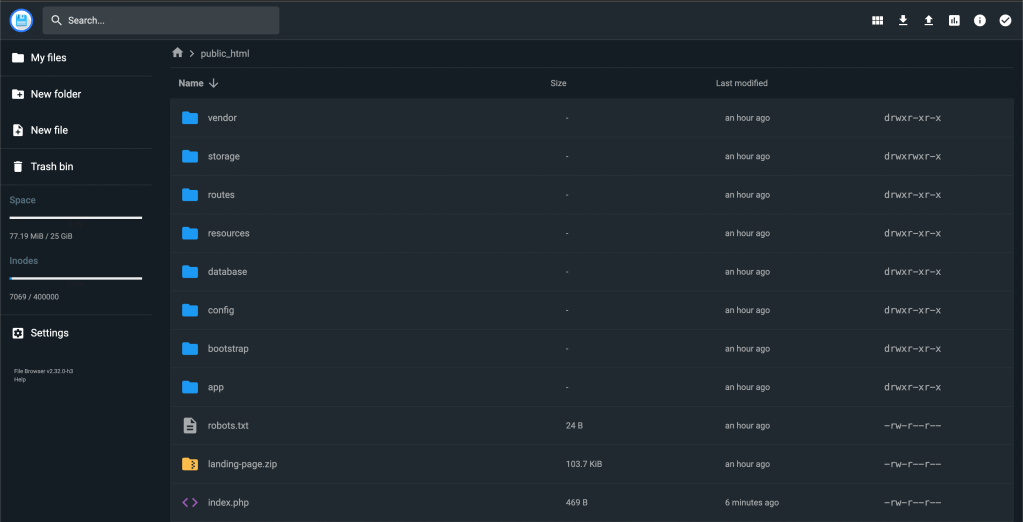
zip -r my_project.zip . -x "vendor/*"We then want to upload that zip file into Files → File Manager → public_html in our Hostinger account.
Then, we want to copy the files from our project public folder and save them into public_html in the Hostinger File Manager.
We want to copy all the files from public folder and add them to public_html, then for the index.php file we want to use this code:
<?php

use Illuminate\Foundation\Application;
use Illuminate\Http\Request;

define('LARAVEL_START', microtime(true));

// Check for maintenance mode
if (file_exists(__DIR__.'/storage/framework/maintenance.php')) {
    require __DIR__.'/storage/framework/maintenance.php';
}

// Composer autoload
require __DIR__.'/vendor/autoload.php';

// Bootstrap Laravel and handle request
$app = require_once __DIR__.'/bootstrap/app.php';

$app->handleRequest(Request::capture());
The .env file must be included and it should have the real production values such as DB credentials, APP_URL, etc
Also, we want to create a new file inside public_html “.htaccess” with the following content:
<IfModule mod_rewrite.c>
    RewriteEngine On

    # Block sensitive files
    <FilesMatch "^\.env">
        Require all denied
    </FilesMatch>
    <Files composer.json>
        Require all denied
    </Files>
    <Files composer.lock>
        Require all denied
    </Files>
    <Files .gitignore>
        Require all denied
    </Files>

    # Handle Authorization Header
    RewriteCond %{HTTP:Authorization} .
    RewriteRule .* - [E=HTTP_AUTHORIZATION:%{HTTP:Authorization}]

    # Send everything to index.php if not file/folder
    RewriteCond %{REQUEST_FILENAME} !-d
    RewriteCond %{REQUEST_FILENAME} !-f
    RewriteRule ^ index.php [L]
</IfModule>
Then we need to have SSH access and install our project dependencies and run our migrations:

In my case, my URL from Hostinger to access publicly my project is https://darkred-stork-321443.hostingersite.com
I can successfully create new email records:

We can verify the records using phpMyAdmin from the Hostinger dashboard


In the next post we’ll be testing a new provider to deploy our application, I’m interested in testing DitigalOcean and compare it to Render and Hostinger.
The final code for Hostinger is available in this new branch:
https://github.com/EdgarGGamartgo/landing-page/tree/mysql-hostinger-deployment
Thanks for reading!

One response to “Deploying a Simple Laravel Landing Page to Hostinger with Email Storage in MySQL”
[…] Deploying a Simple Laravel Landing Page to Hostinger with Email Storage in MySQL […]
LikeLike