Today I decided to build a page that collects emails and saves them into a database. The goal is to test how easy and cost effecttive is to use Laravel and Render.
This post is a record of the my process to get the landing page working online.
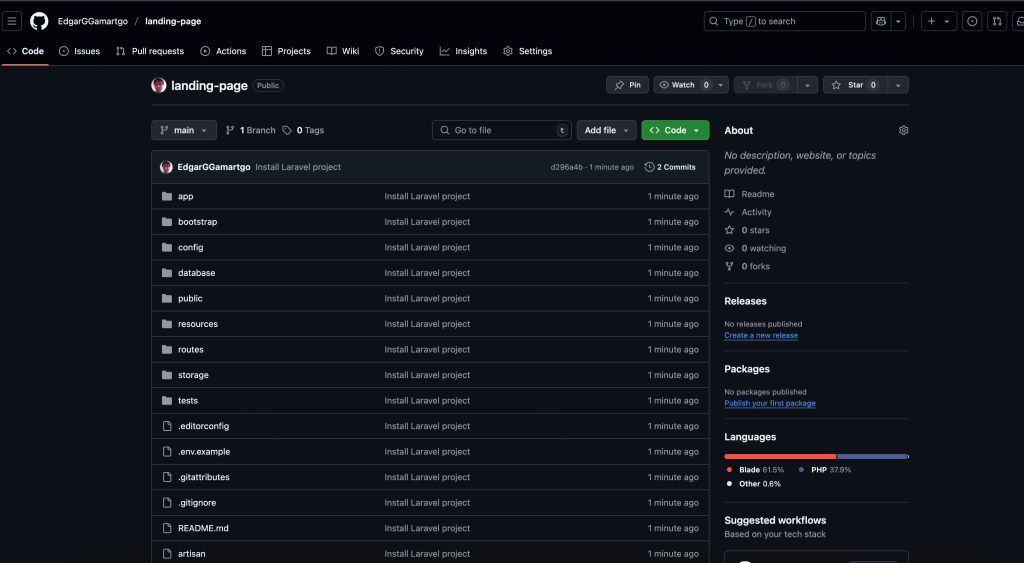
First, I created a new public repository on GitHub.

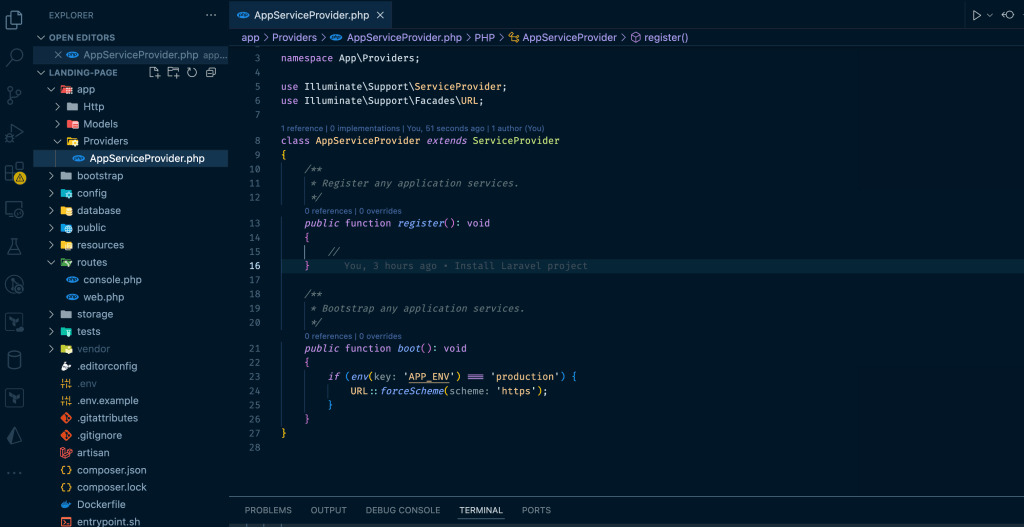
After that, I downloaded the project to my MAC and started working with my editor VSCODE

I have worked with PHP and Laravel in the past but it’s been a while, maybe around 5 years since I completed a project with those tools so I wanted to see what useful extensions are available for VSCODE when working with PHP and Laravel. I did a quick search on Google and I found these two websites suggesting some interesting extensions so I installed them. For reference, here they are:
https://laraveldaily.com/post/vs-code-extensions-laravel-php
Time will tell me if they are really useful for me or not but in the mean time I think they can be helpful.
Next step, I went to ChatGPT and ask the following question: “I’m new to Laravel and would like to learn how to build a landing page from scratch that saves email addresses into a PostgreSQL table. I’m working on a Mac and want to deploy the project to Render using the most affordable option (free if possible).” ChatGPT as usual showed me instructions on what to do, so now, the first task is to read the instructions and follow only the ones that make sense to me as a developer, the instructions that don’t feel good should be ignored and instead search on other sources for help or use my own knowledge and experience.
First, I need to install Homebrew but I already have it installed so next I need to install PHP with the following command:
brew install php
My MAC complained with this message
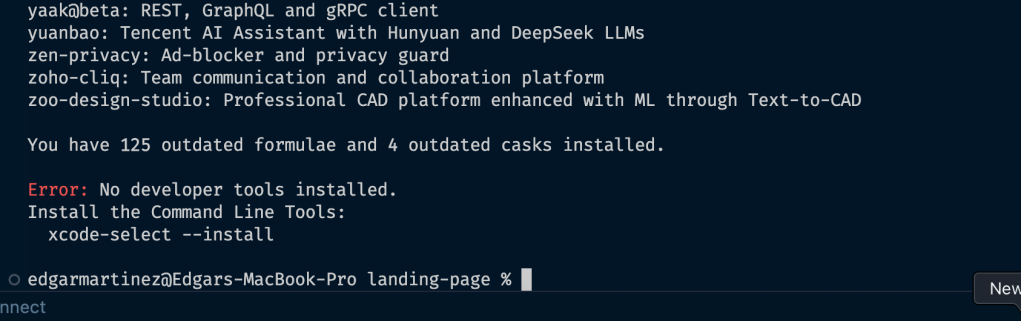
After fixig the error and trying to install PHP again, I got a successful installation.

Next step is to install composer
brew install composer
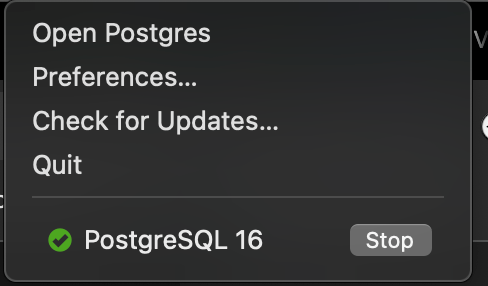
Next step is to install postgres, I already have it installed by Postgres App for MAC, reference: https://postgresapp.com/
Next step is to create a new Laravel project inside my existing landing-page folder, socomposer create-project laravel/laravel .
That creates a new Laravel project in my current directory, however, I experienced that Laravel didn’t like that I already had a README file and my .git directory so it was complaining, the solution I found was create the project in a temporary folder and then move the files into my landing-page folder. Once I got everything I pushed the changes to my repo in order to save progress.
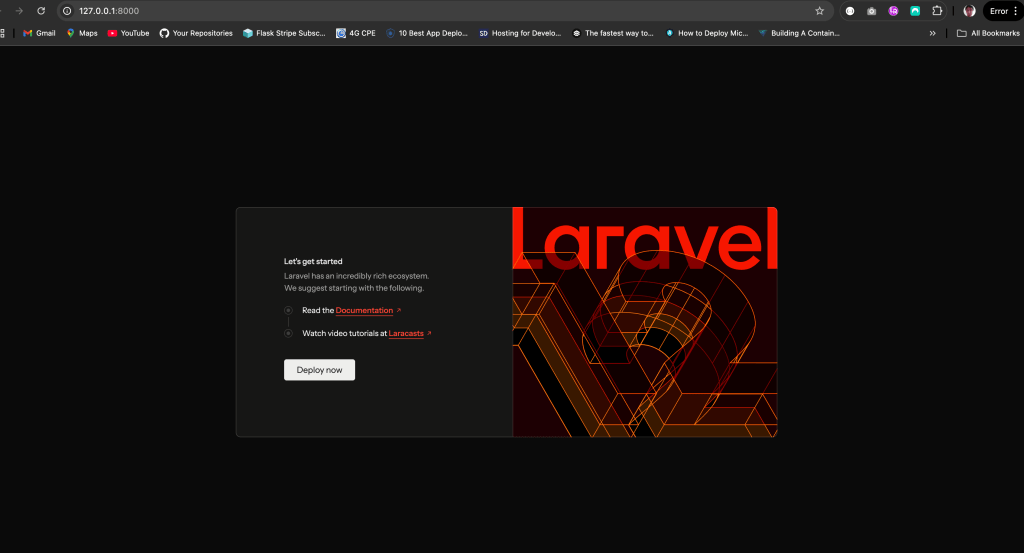
Then, as a small test, I started the project locally with the command
php artisan serve
And, success!!
Next step is to create a local DB and update the connection in the .env file. In my case, I created the following
DB_CONNECTION=pgsql
DB_HOST=127.0.0.1
DB_PORT=5432
DB_DATABASE=landing_db
DB_USERNAME=postgres
DB_PASSWORD=
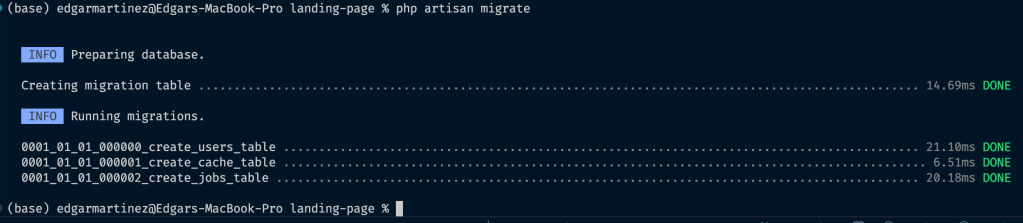
We need to test if the project connects properly to our local DB by running this migration command :
php artisan migrate
And successfully getting the tables created in the DB should be the result we want:
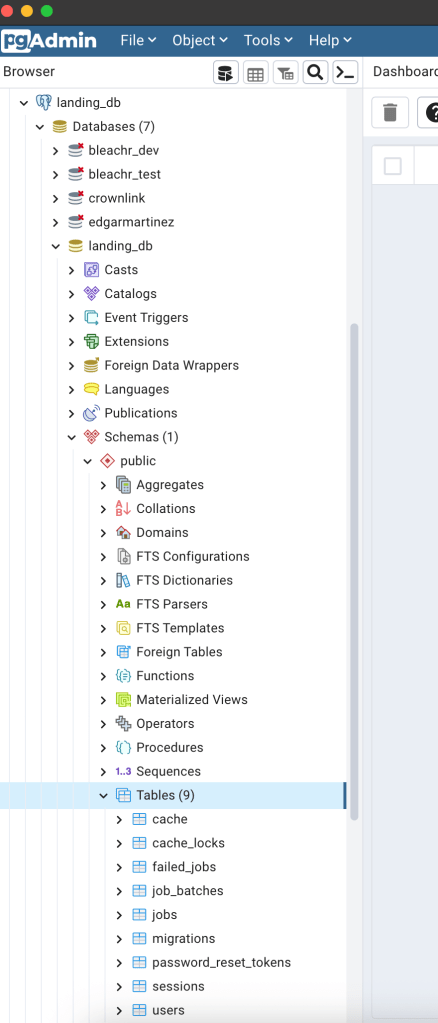
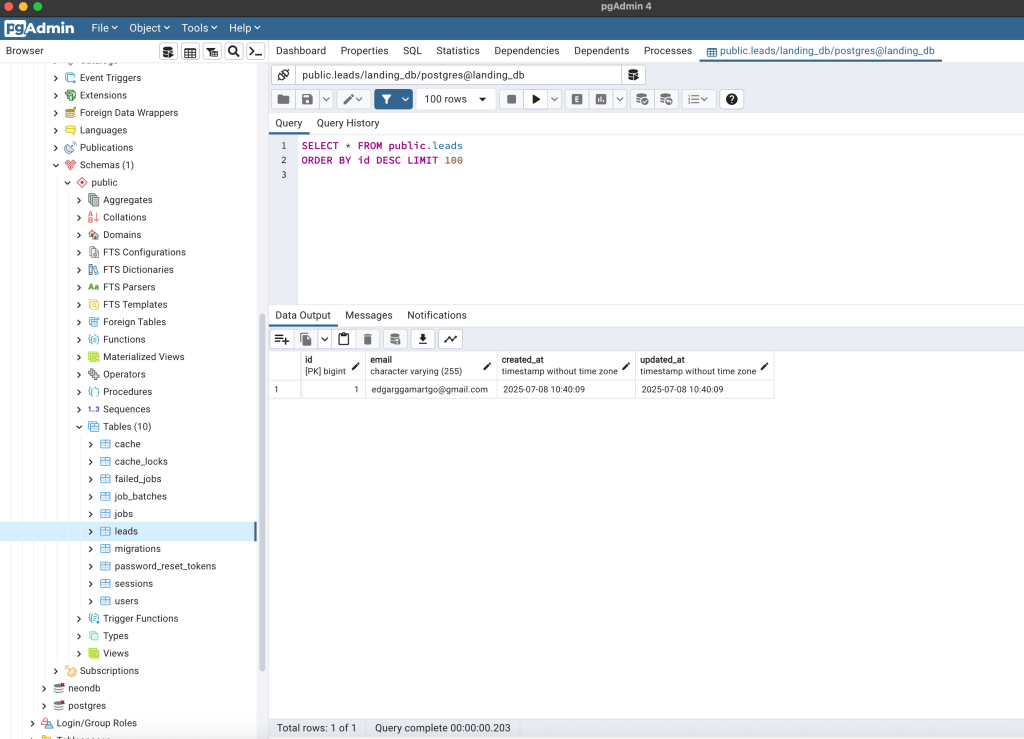
I’m using PgAdmin4 in order to work with my local DB:
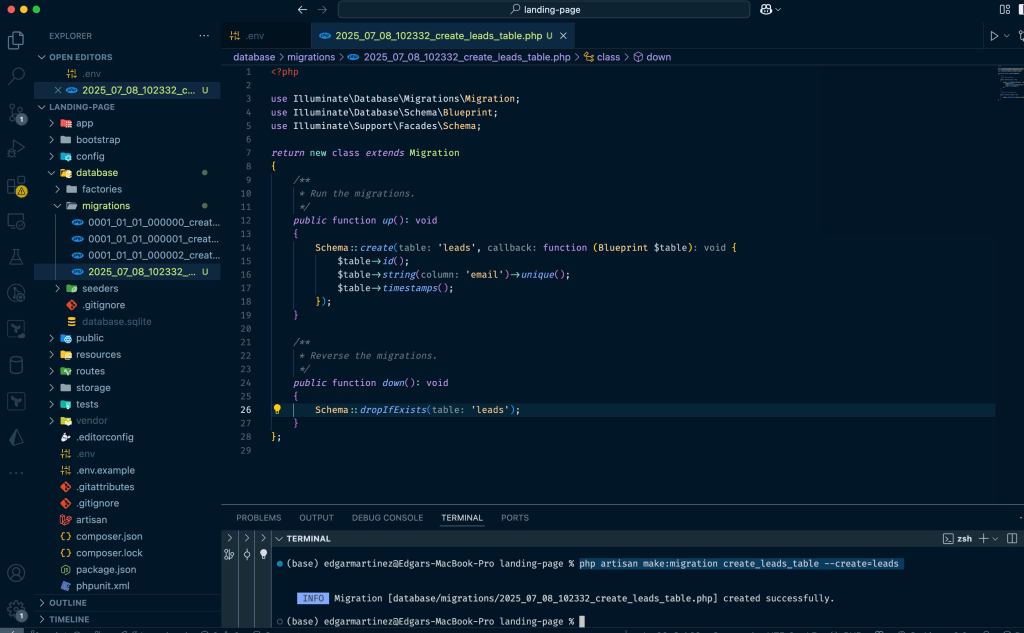
So far so good. We want to create a new table for storing the emails, so the command to create a new migration file is
php artisan make:migration create_leads_table --create=leads
That should create the file, we then want to update it a bit so that it adds the ’email’ column:
Once we save the new migration file with the email column, we want to update the DB to include that new table, so the command we must run is
php artisan migrate
Once that runs, it should update the DB.
Next step is to create the model in order to interact with the new table, we must runphp artisan make:model Lead
Then, we want to update the created file to include the columns we want to map, like this:

Next, we want to have a controller in order to receive requests from the frontend. These requests are for saving emails. So, for Laravel we run
php artisan make:controller LandingController
Then, we update the created file like this

We now want to create a blade view in order to allow users interact with a web page to submit their emails. It looks like this:

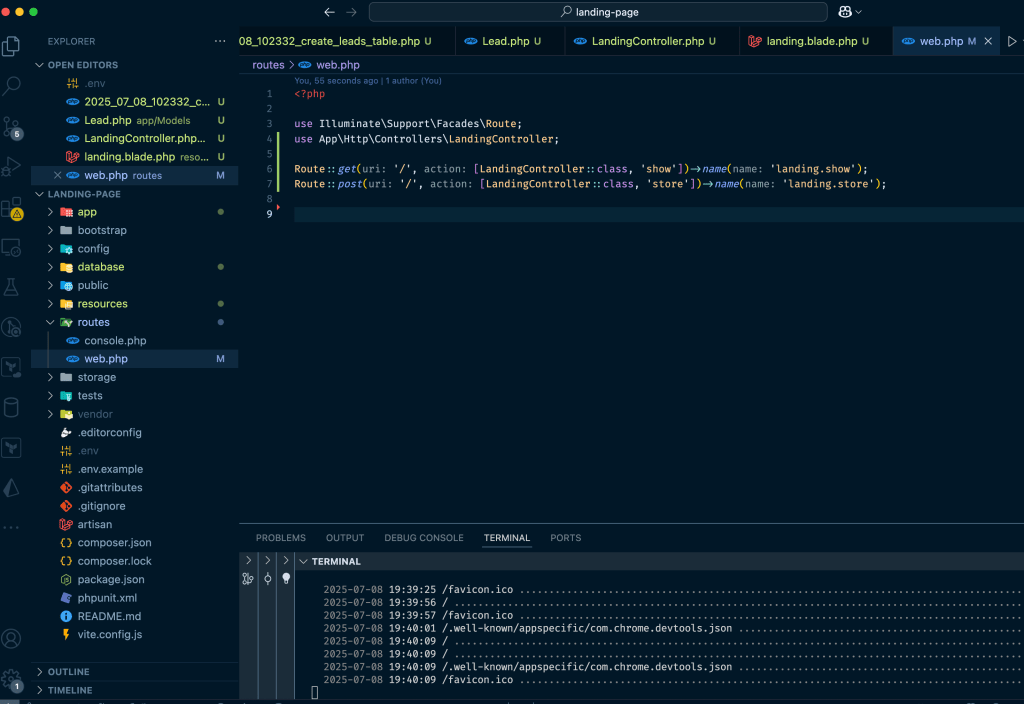
We now want to update the routes in order to allow the project to receive HTTPS requests to return the current stored emails and to create new emails in the database. In Laravel, we should update this file, note that we are mapping our controller’s functions:
That’s it. We now want to test the functionality, so by running the project again and visit it on our browser, we should see:
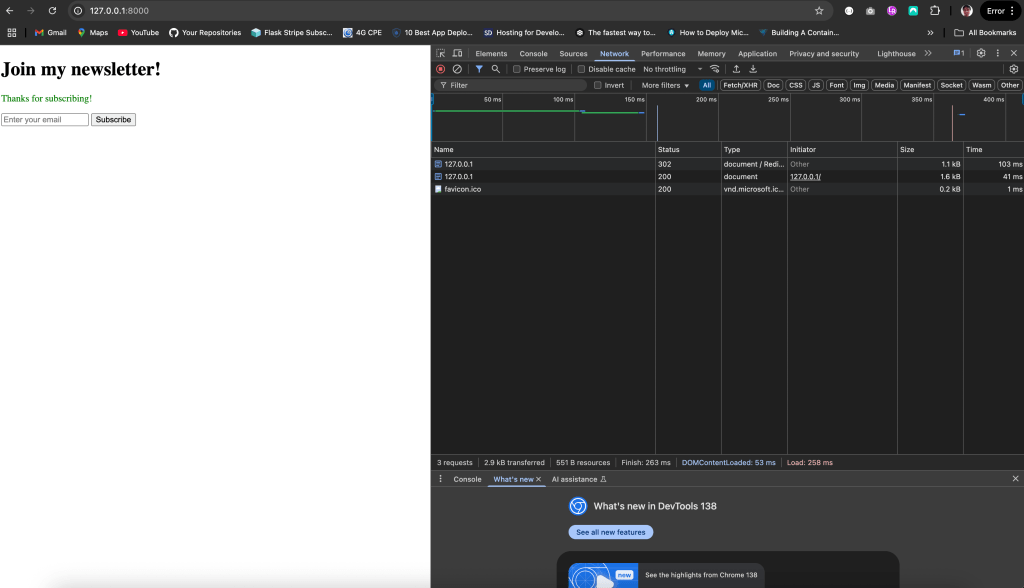
Then by typing an email and submitting it, a request is made and processed which will ultimately turn into a new record with our email in the database like this:
The next step is to make this project available online for real users to interact with it. I want to test different options for deployment, to get started on an easy and free option I decided to try Render.com: https://render.com/
Render has a free tier for postgres DB and for deploying our Laravel project so it sounds good to start with. I created my account, linked my GitHub project to Render and added a Docker, entrypoint.sh and render.yaml file to the Laravel project in order to let Render know how to deploy the project, the entrypoint.sh includes instructions to run our migrations. The Render flow is very intuitive, it will ask for the env values for our DB, in this case, I use my Render Postgres DB and I use the internal URL for defining the credentials. As for reference for the new files:
https://github.com/EdgarGGamartgo/landing-page/blob/main/render.yaml
https://github.com/EdgarGGamartgo/landing-page/blob/main/Dockerfile
One more important thing to add in the Render environment values is APP_KEY
In our local project we want to run:
php artisan key:generate --show
The generated string should be used as the value for APP_KEY.
We also need to update this file in order to securely submit our emails:
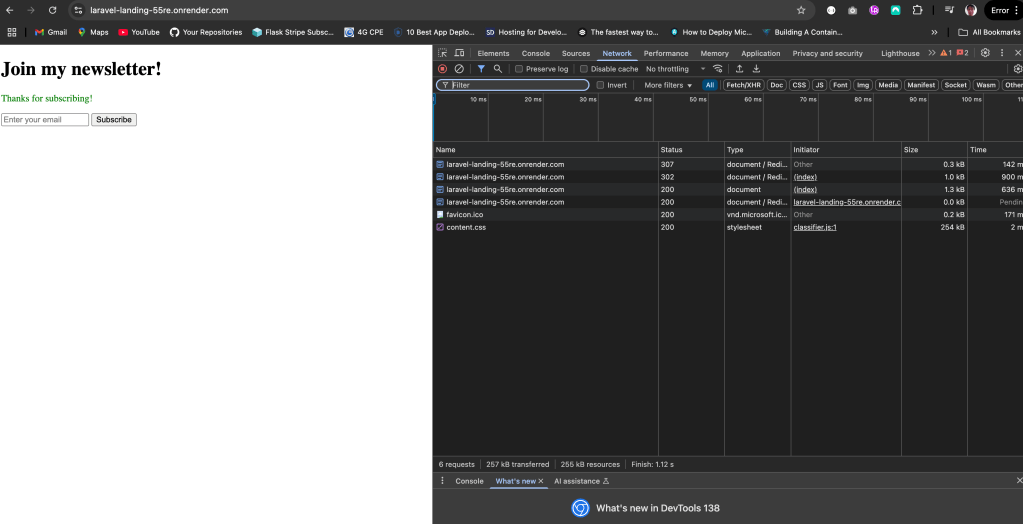
That’s it, now we can see the landing page online and we are able to save emails:
https://laravel-landing-55re.onrender.com/
Next review will be a deployment to hostinger.
Thanks for reading!!

2 responses to “BUILDING A SIMPLE LANDING PAGE THAT SAVES EMAILS INTO A DATABASE USING LARAVEL AND RENDER”
[…] It’ll be much easier to understand this post if you read the previous post so if you’re interested, take a look at: https://edgargmartinez.wordpress.com/2025/07/08/building-a-simple-landing-page-that-saves-emails-int… […]
LikeLike
[…] BUILDING A SIMPLE LANDING PAGE THAT SAVES EMAILS INTO A DATABASE USING LARAVEL AND RENDER […]
LikeLike